Image credit: CC BY-NC-SA @ Heinz Nixdorf MuseumsForum
Last modified: Jun 29, 2026 @ 2:46 pm
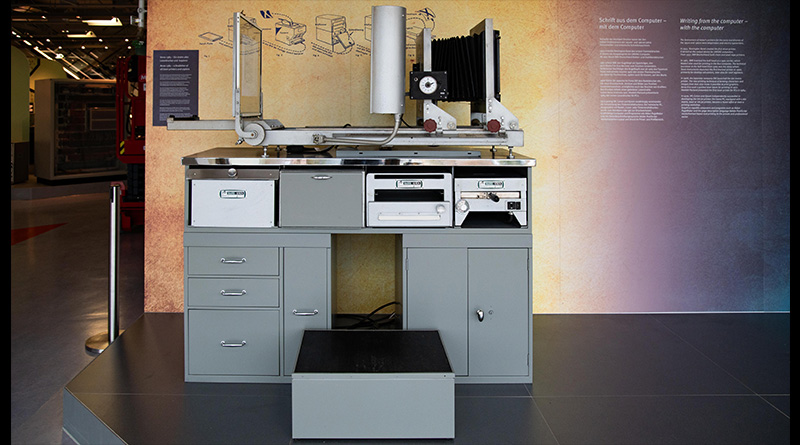
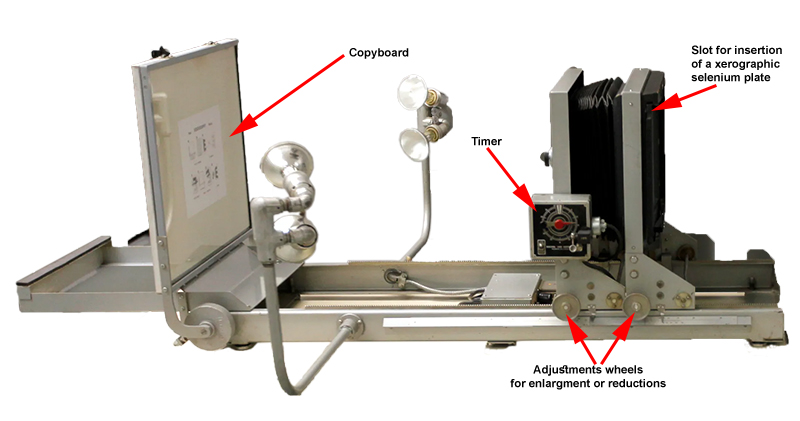
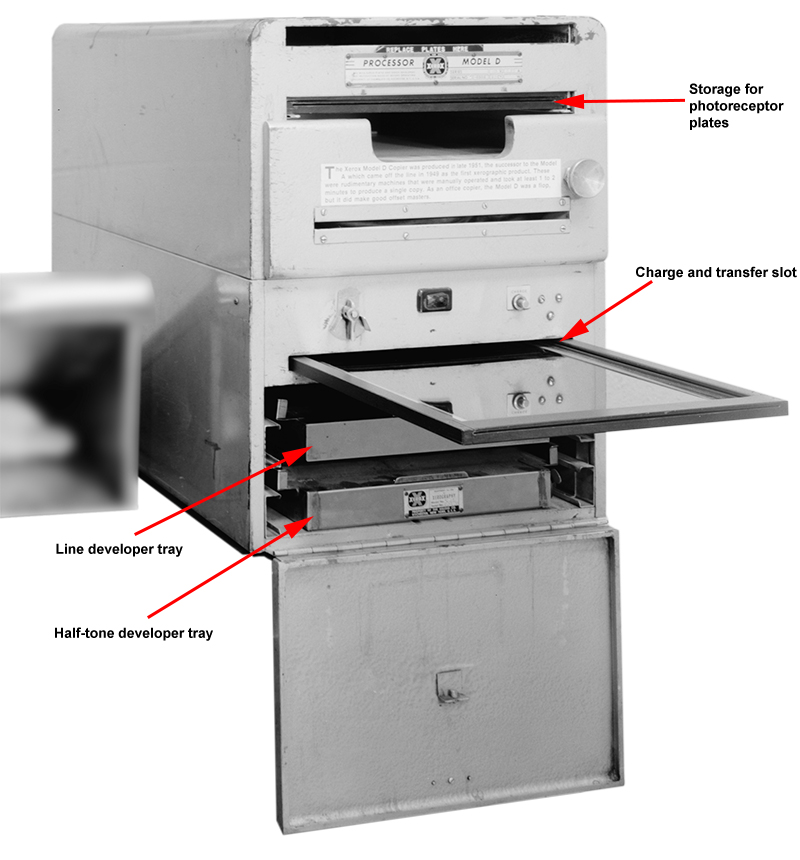
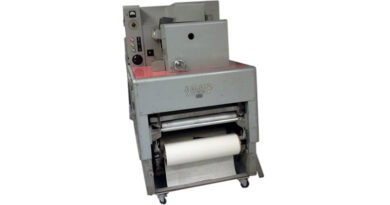
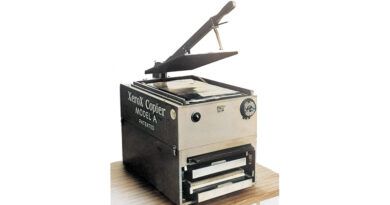
In 1950 Haloid announced the Xerox Standard Equipment. It consists of the Xerox camera No. 4, Processord "D" and a Heat Fuser. When Rank Xerox was established in 1956, they named this equipment Rank Xerox Standard 1385. Another name was also used - The Xerox Master maker 1385.
The 1385 consists of a Processor, Camera, Heat Fuser, Vapour Fuser. The 1385 uses the seven stages of the Xerographic process. Each stage of the process is a seperate manual one. It would take around five minutes to complete the process per sheet of paper.
The Model 1385 was among the first commercially available xerography machines, later known as photocopiers.
Below is images which describes the different components, of the Xerox Standard Equipment / Rank Xerox Standard 1385.

I’m looking for anyone with information on whether it’s possible to replace the selenium plates used in 1950s Xerox/Haloid flat-plate equipment. Modern printers use OPC drums or belts — could an OPC belt be used in a Xerox/Haloid flat-plate system?
Any information would be greatly appreciated.
Yes, with some caveats. Modern photoreceptors are much more light sensitive than the selenium plates, so it is important to keep the OPC away from daylight or fluorescent room lights as much as possible. Selenium can be charged either positive or negative; OPCs can only be charged negative. Depending on the particular OPC, charge can leak, so time from charge sensitization through exposure to development should be minimized. Much trial-and-error work is likely to be required.
Thanks for the info.